How to rip a CD collection properly
A repeatable process for turning several hundred discs into a library you never have to redo — format, drive, metadata, verification and filing, in the order that saves the most work.
Rip to a lossless format, set the drive’s read offset before disc one, fix the metadata while the disc is still in the drive, verify the result against AccurateRip, and file it into the structure you intend to keep. Those five decisions are the difference between doing this once and doing it twice, and four of them are expensive to revisit.
Before the detail, one thing about the software: Digr cannot rip CDs. Not today, and not for a while. An in-app CD import workflow is a named item on Digr’s roadmap — planned as part of Digr Free, with a bundled ripping engine so nobody is told to install a command-line tool by hand — but that horizon is six to twelve months out and nothing about it exists in the current build. Secure ripping and verification against AccurateRip are separate, later, Pro work.
So this article recommends other people’s software, and it is written for somebody who wants the job done now. The process below is the part that outlives whichever program you use.
Why it is worth ripping a collection only once
The reason to be careful is arithmetic. At roughly four to six minutes a disc on a decent drive, four hundred CDs is somewhere between thirty and forty hours of sitting near a machine feeding it plastic. Nobody does that twice cheerfully. Almost every re-rip is caused by a decision made in the first ten minutes: the wrong output format, metadata left until later, or no verification, so nobody finds out about the four bad discs until years afterwards.
Work through these in order. The order matters — several of the steps are expensive to revisit and cheap to get right first.
Where each step can cost you the whole job
Gets it wrong A wrong offset produces a rip that plays perfectly and can never be verified against anyone else's.
Gets it wrong Burst mode takes whatever the drive returns first. A lossy output throws audio away permanently.
Gets it wrong Fixing tags later means identifying an album from numbered files with no context, several hundred times.
Gets it wrong Skip it and a bad rip is indistinguishable from a good one on disk. Nothing warns you. The file plays.
Gets it wrong Ripping straight into the library mixes failures and mis-tagged albums in with finished work.
Gets it wrong Thirty hours of work on one disk is a draft, not an archive.
1. Decide the archive format before you rip anything
Rip to a lossless format. This is the one decision that is genuinely irreversible: a lossy rip has thrown audio away permanently, and re-encoding it later to something better recovers nothing.
In practice that means FLAC unless your life runs entirely through Apple’s applications, in which case ALAC. Both decode to identical audio, so the choice is about tooling rather than sound — which is its own argument, and the format reference covers what separates the rest. Every candidate output format measured, with the round trip verified by hash, is the long form of this section: the sizes, and the demonstration that “lossless loses nothing” is a claim you can check rather than take on trust.
Two things worth deciding at the same time:
- Do not rip to WAV. It is uncompressed, so it is roughly twice the size, and it has no tagging system anyone agreed on. A four-hundred-disc library with unreliable metadata is a four-hundred-disc problem.
- Make the portable copy later, from the archive. If you want AAC or MP3 on a phone, generate it from the lossless files afterwards and treat it as disposable. Ripping twice to get two formats doubles the work for no benefit.
2. Set up the drive and its read offset
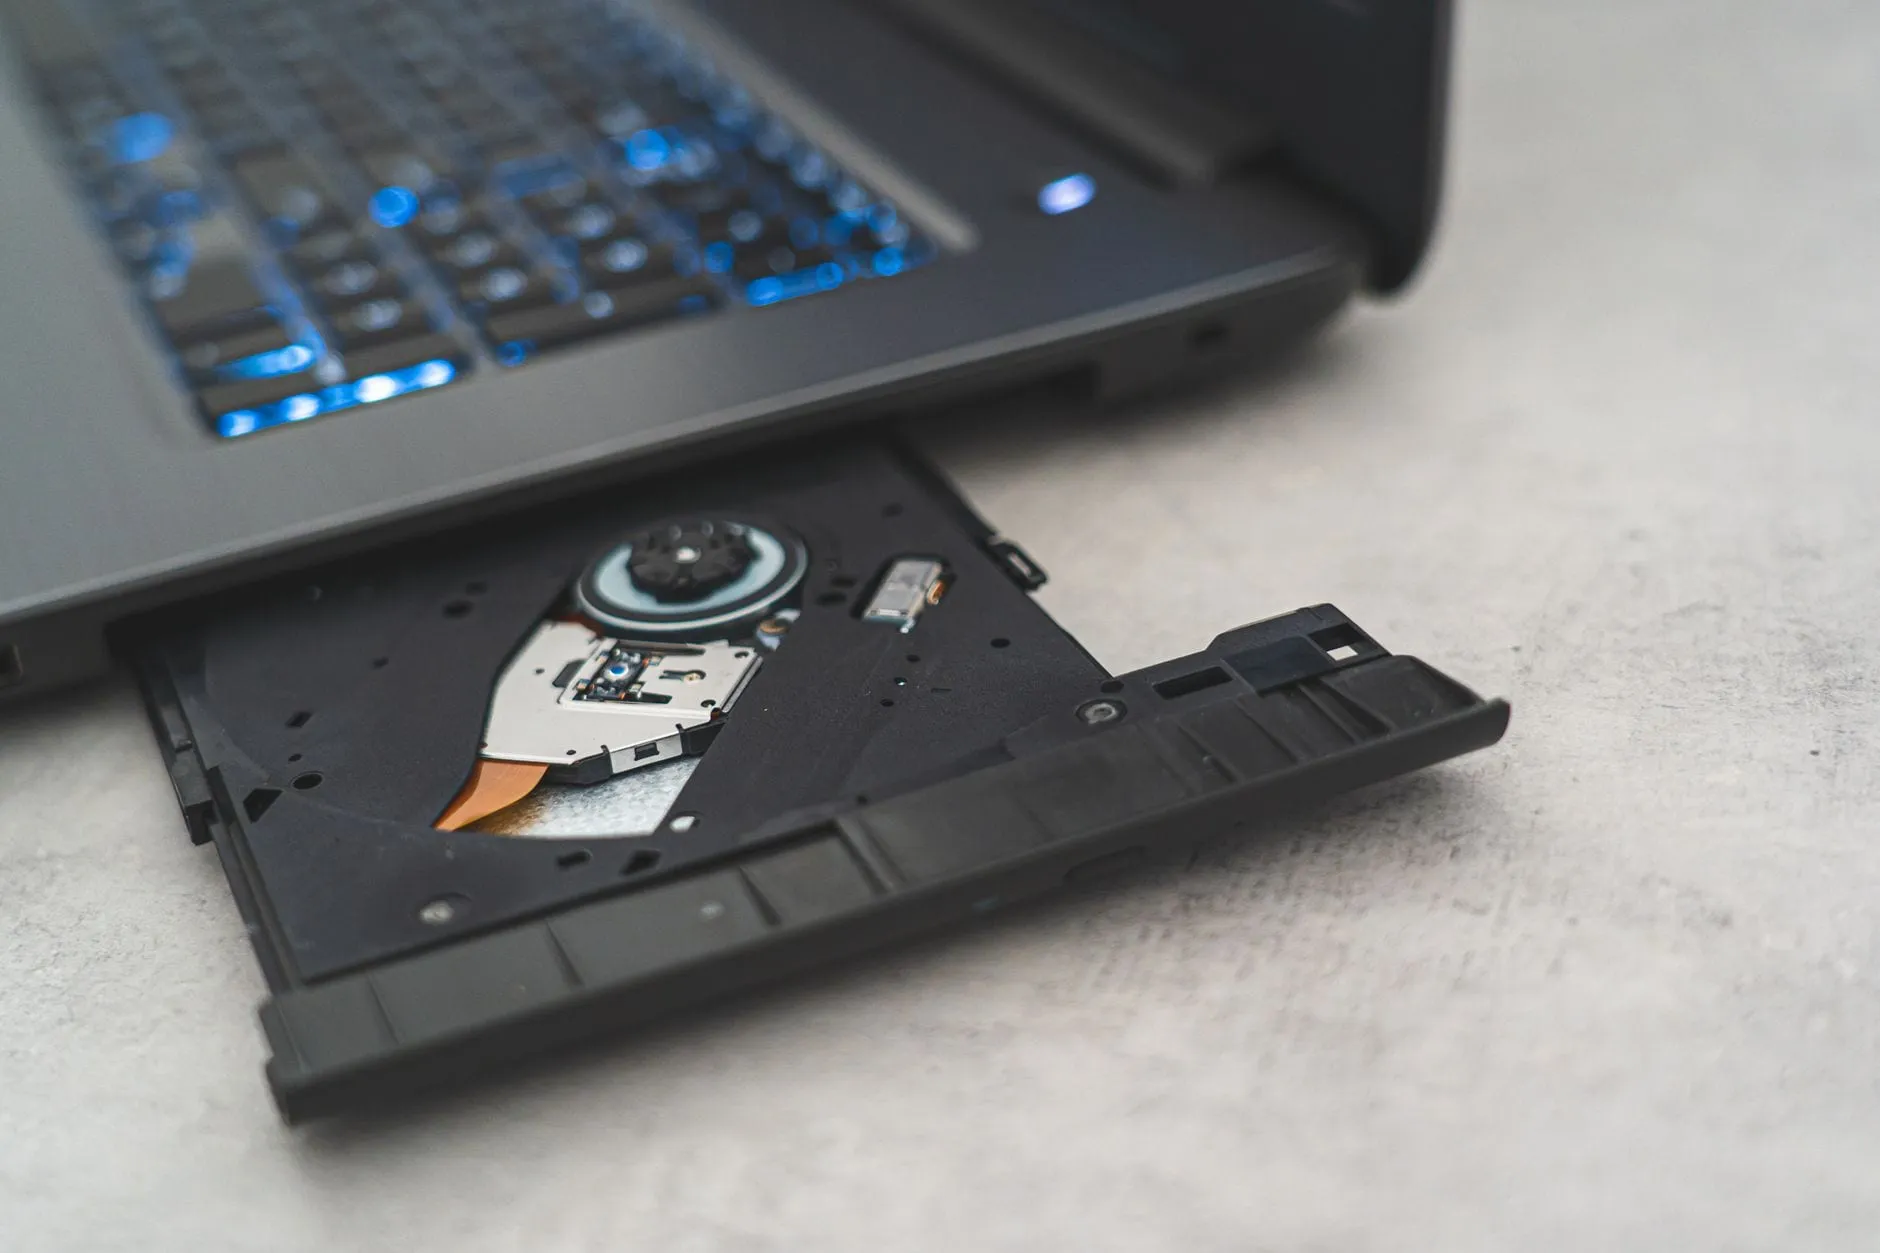
Any drive will read most discs. The differences show up on the ones that are scratched, and in whether the result can be verified.
Find the drive’s read offset. CD drives do not all start reading at the same place. AccurateRip’s documentation describes each drive as reading slightly out by some number of samples, consistently for a given make and model — which is why AccurateRip maintains an offset database, currently covering just under 5,000 drives. Get the offset wrong and your rip is a few samples shifted from everybody else’s: still perfectly listenable, but it will never match a verification database. Every serious ripper can look this up or detect it for you; do it once, before the first disc.
Clean the discs, not the drive. Most read errors on a home collection are fingerprints and dust, not rot.
3. Pick a CD ripper
Four that are worth your time, with what each one actually is:
| Program | macOS | Windows | Cost | AccurateRip | Metadata sources | Best for |
|---|---|---|---|---|---|---|
| XLD | Yes | No | Free, open source | Yes, + offset detection | CDDB-style lookup | The default on a Mac |
| dBpoweramp | Yes | Yes | Commercial, 21-day trial | Yes, + C2 and offset removal | Five at once: AccurateRip Meta, GD3, MusicBrainz, Discogs, freedb | Large collections, where reconciled metadata saves more hours than the licence costs |
| Exact Audio Copy | No | Yes | Free, non-commercial | Yes, + multi-read verify | CDDB-style lookup | The long-established Windows choice |
| fre:ac | Yes | Yes | Free, open source | Yes, since 1.1.5 | CDDB/GNUdb, MusicBrainz | Linux and FreeBSD, at no cost |
On a Mac, XLD is the default answer: free, actively maintained — the current release is from March 2025 — running natively on Apple silicon, and it does secure ripping, AccurateRip and offset detection without charging for any of it.
dBpoweramp is the one to pay for if you are doing this at scale on either platform. Its metadata handling is the reason: it queries five providers at once — AccurateRip’s own metadata, GD3, MusicBrainz, Discogs and freedb — and reconciles them, which on a large collection saves more hours than the software costs.
The Music app on macOS will also import a CD, and for a handful of discs that is fine. It does no verification of any kind, which is the whole reason not to use it for a collection.
4. Turn on the settings that make it a proper rip
Whatever you chose, three settings separate a rip you can trust from a fast one. They are usually not the defaults.
Secure mode, not burst. Burst mode reads each sector once and takes whatever comes back. Secure mode re-reads until successive passes agree, and reports where they did not. On a clean disc the difference in time is small; on a marginal one it is the difference between a correct file and a file with a click in it that you will find in four years. Leave it on for everything — sorting discs into “probably fine” and “needs care” in advance is work you cannot do without reading them first.
Use the drive’s offset. Set it once, from the lookup, before disc one. A rip with the wrong offset is fine to listen to and permanently unverifiable, which is a bad combination: you get no warning and no second chance without re-ripping.
Rip to individual tracks, not a single image. A disc image plus a cue sheet preserves the exact gaps between tracks, which matters for continuous live albums and DJ mixes, and it is what you want for those. For everything else it is a format that fewer players understand and that makes a single track harder to reach. Rip tracks by default and reach for image-plus-cue deliberately, on the albums that need it.
One more thing, which is process rather than a setting: rip into a staging folder, not straight into your library. Discs that fail verification, discs where the metadata lookup guessed wrong, and the one that turned out to be disc two of something all want dealing with before they join the collection. Promote in batches once you have checked them.
5. Get the metadata right at rip time, not afterwards
This is the step people skip, and it is the most expensive one to skip.
Fixing tags during a rip costs seconds: the disc is in the drive, the album is on screen, and you are already looking at it. Fixing them afterwards means identifying an album from a folder of numbered files with no context, months later, several hundred times.
How disc identification works. Your ripper reads the disc’s table of contents — the track offsets — and hashes it into a disc ID. MusicBrainz uses this to link a physical CD to a release in its database. Because pressings often have slightly different track offsets, a disc ID is frequently pressing-specific, which is a genuine advantage: it can distinguish the 1984 UK pressing from the 2011 remaster where a title search cannot. It is not infallible — one release can have several disc IDs, and different discs occasionally collide — so the lookup proposes and you confirm.
Three things to check on every disc, because they are the ones that cause trouble later — and each is a specific field in a specific tagging system once the file exists:
- Album artist, not just track artist. This is what stops a compilation scattering into forty one-track albums.
- The compilation flag, where the format has one.
- Disc number and total, on anything with more than one disc.
Artwork is worth grabbing at the same time, from the Cover Art Archive or
your ripper’s own lookup. Embedded artwork travels with the file; a folder.jpg
sitting next to it does not survive being moved as carefully, and
the trade between the two is worth
settling before five hundred discs inherit it.
6. Verify the rip, or accept that you do not know
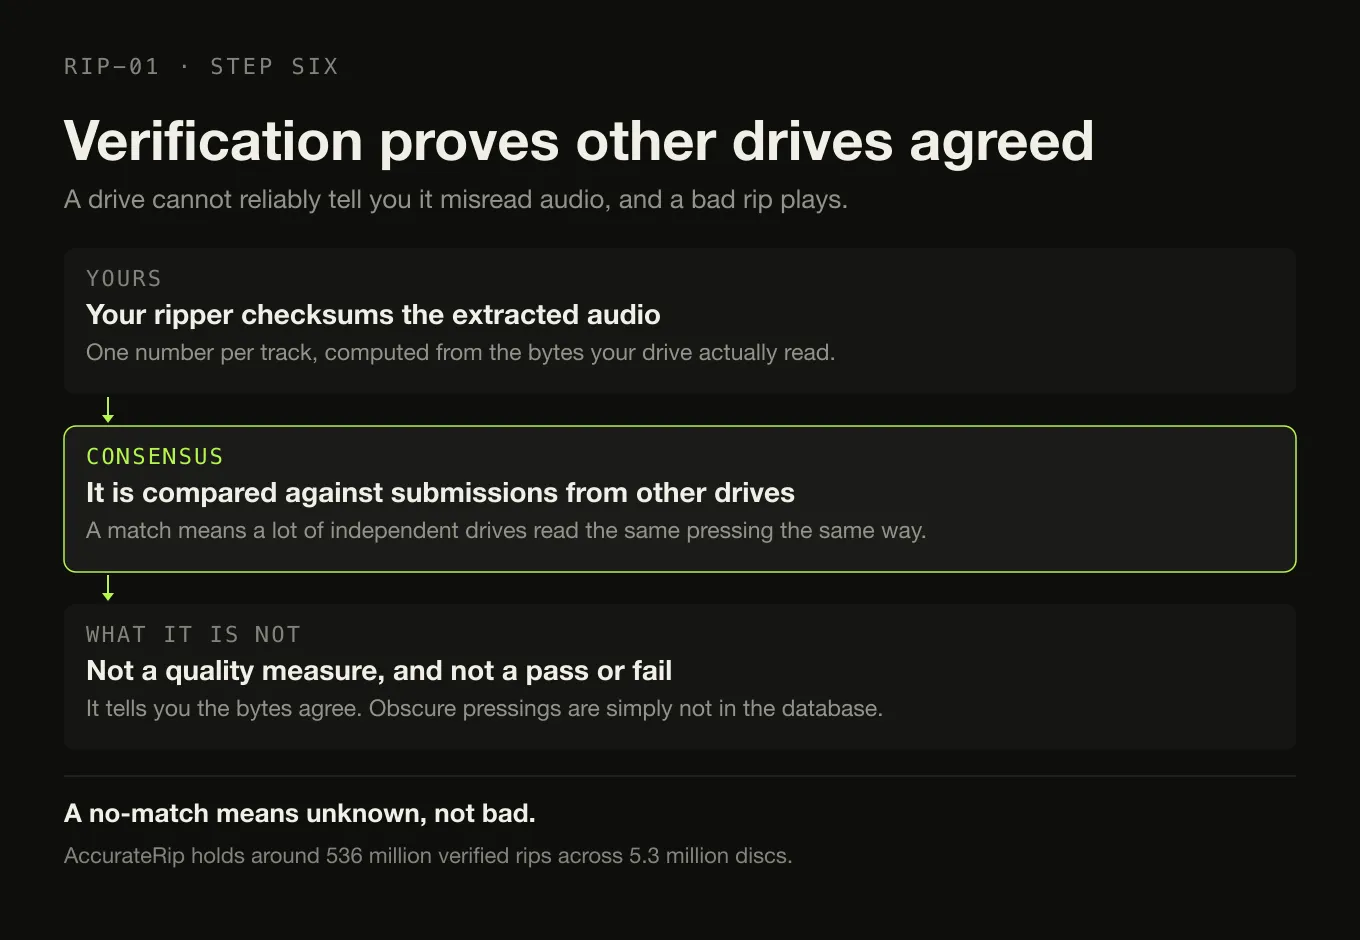
A CD drive cannot reliably tell you when it has misread audio. AccurateRip calls this the audio CD error-detection hole, and it is the reason verification exists as a separate concept at all: without it, a bad rip and a good rip look identical on your disk. Nothing warns you. The file plays.
Verification works by consensus. Your ripper computes a checksum of the extracted audio and compares it against a database of checksums submitted by other people who ripped the same pressing. If yours matches, a lot of independent drives agreed with yours. The database currently holds around 536 million verified rips across 5.3 million discs, so mainstream releases are usually covered.
Two things it does not do:
- A no-match is not a failure. Obscure pressings, private releases and anything unusual simply are not in the database. It means unknown, not bad.
- It is not a quality measure. It tells you the bytes match what others extracted. It says nothing about the mastering.
What secure ripping does underneath — re-reading suspicious sectors until the drive agrees with itself — and what a confidence number actually means are each worth an article of their own, and will get one.
7. File it, then leave it alone
Send the output straight into the structure you are going to keep, using your ripper’s filename template. Retrospective reorganisation of four hundred albums is its own weekend.
Artist/Album (Year)/01 - Track.flacThat shape is not the best imaginable structure. It is the one almost every tool, player and ripper already assumes, which matters far more. Organising a large library goes into the awkward cases — box sets, various-artists compilations, albums that belong in two places.
8. Back it up before you continue
Thirty hours of work living on exactly one disk is not an archive, it is a draft. Get a second copy running early — after the first fifty discs, not after the last one — so that a drive failure in week three costs you three days rather than everything. Storing and backing up a collection covers the scheme; the point here is just that it should start before the ripping finishes, not after.
What to do with problem discs
Set them aside rather than fighting them in sequence. A disc that takes forty minutes and three attempts breaks the rhythm that gets the other 399 done.
When you come back to them: a different drive is the single most effective remedy, because drives differ in how they handle marginal media far more than they differ in normal use. Secure or paranoid modes will re-read damaged sectors repeatedly, which takes time but frequently succeeds. Cleaning helps; the various polishing compounds are a last resort on a disc you have already failed to read.
What the process buys you
At the end you have files that decode to exactly what was on the disc, tagged well enough to find, filed somewhere predictable, verified where verification was possible, and copied somewhere else. That collection outlives the software that made it, which is the entire point — and it is why the ripping step is worth this much care and the player choice is worth much less.
When Digr’s own import lands, it will read the disc, look it up, let you correct the metadata before the rip rather than after, and put the result in your library. Until then, the discs are not going anywhere and neither is XLD.
Sources
- AccurateRip — the error-detection hole, drive read offsets, database size
- XLD — current release, platform support, output formats, AccurateRip and offset handling
- dBpoweramp CD Ripper — platforms, trial, PerfectMeta’s five metadata providers, offset removal
- Exact Audio Copy — licence terms
- fre:ac — platforms, licence, AccurateRip support
- MusicBrainz Disc ID — how a disc is identified from its table of contents, and why pressings differ
Common questions
What is the best format to rip CDs to?
A lossless one: FLAC, or ALAC if your workflow runs entirely through Apple’s applications. Both decode to exactly what was on the disc, so the choice is about tooling rather than sound. Do not rip to WAV — it is roughly twice the size and has no tagging system anyone agreed on — and do not rip to MP3 or AAC, because a lossy rip has discarded audio permanently and re-encoding it later recovers nothing.
What does AccurateRip actually verify?
It verifies that the audio your drive extracted matches what other people’s drives extracted from the same pressing. Your ripper computes a checksum of the extracted track and compares it against a database of submissions. A match means many independent drives agreed with yours. It says nothing about the mastering, and a no-match means unknown rather than bad — obscure pressings are simply not in the database.
Do I need to set my CD drive’s read offset?
Yes, once, before the first disc. Drives do not all start reading at the same place; each is out by some number of samples, consistently for a given make and model, which is why AccurateRip maintains an offset database covering just under 5,000 drives. A rip made with the wrong offset plays perfectly and can never be verified against anybody else’s, which is the worst combination available.
Should I rip to individual tracks or to a disc image with a cue sheet?
Tracks, by default. A disc image plus a cue sheet preserves the exact gaps between tracks, which matters for continuous live albums and DJ mixes and is the right answer for those. For everything else it is a format fewer players understand and it makes a single track harder to reach. Rip tracks and reach for image-plus-cue deliberately, on the albums that need it.
How long does it take to rip a large CD collection?
Roughly four to six minutes a disc on a decent drive in secure mode, so four hundred CDs is somewhere between thirty and forty hours of feeding a machine plastic. That estimate is why the decisions in the first ten minutes matter: almost every re-rip is caused by the wrong output format, metadata left until later, or no verification, and each of those costs the whole thirty hours again.
Can Digr rip CDs?
No. Digr has no optical-drive or ripping capability today. An in-app CD import workflow with a bundled ripping engine is a named roadmap item at a six to twelve month horizon, planned as part of Digr Free, and secure ripping with AccurateRip verification is separate, later, Pro work. Until then this article recommends other people’s software, and XLD is the free default on macOS.
- ripping
- CD
- FLAC
- AccurateRip
- MusicBrainz
- archival